Palettes · Planning guide

Forest green and white oak kitchen design

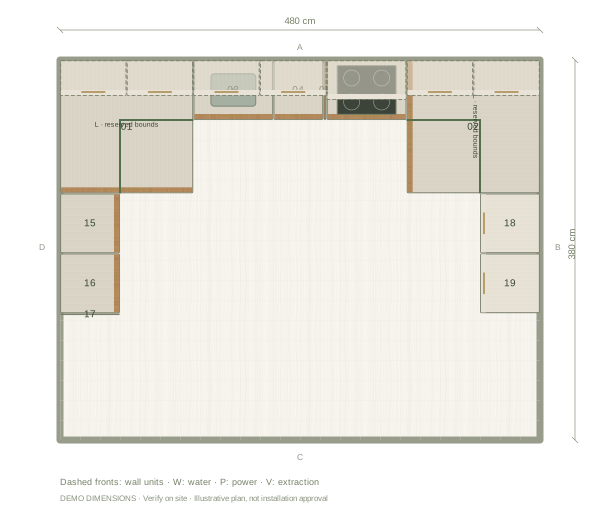
Forest green upper fronts over white oak lower cabinets, shown in a U-shaped layout. Open the example to try this pairing in your own room size.

Design this kitchen Editable example · no account needed to start

Forest green above, white oak below.

480 × 380 cm room
260 cm ceiling · 19 components

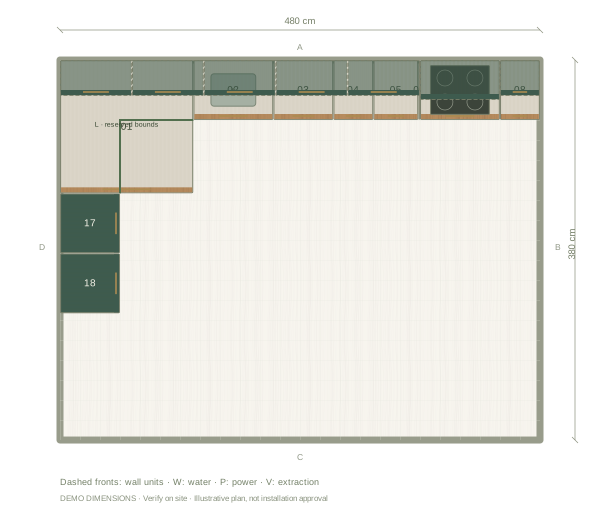
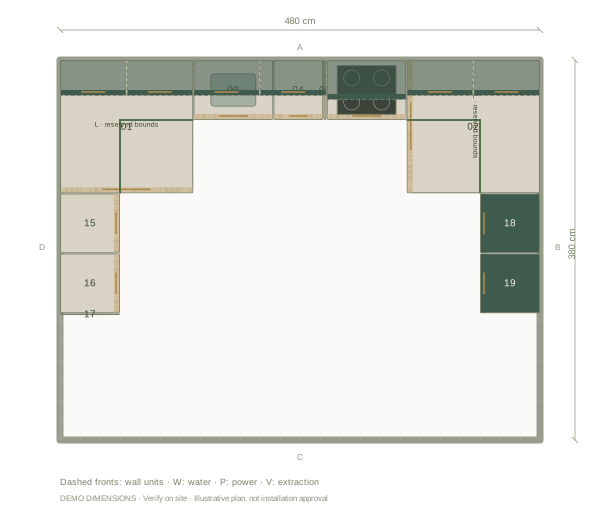
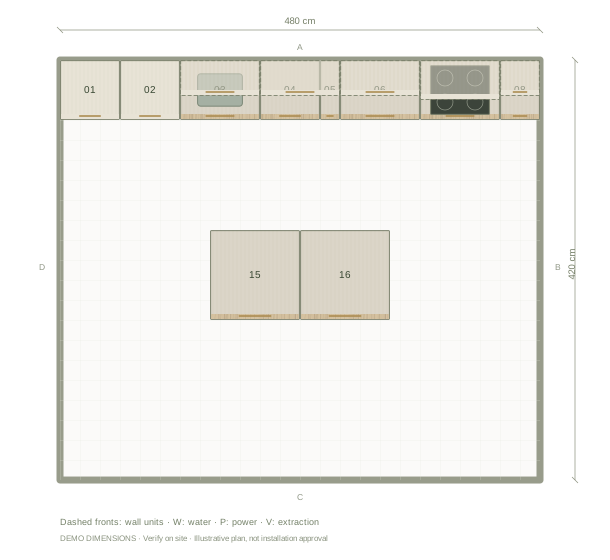
Forest green and white oak kitchen design example, 480 by 380 centimetres, with labelled component positions
Illustrative plan in cm. Example dimensions; no doors, windows or site services have been assumed. Add your actual openings and fixtures in the editor.
01

Balance forest green with white oak

This example keeps the deeper forest green on the upper cabinets and lets the white oak grain ground the lower run. That order keeps the darker colour at eye level without closing in the worktop. Try the reverse split in the editor if your room gets little daylight, and compare both from the doorway before deciding.

02

Coordinate the counter and backsplash

The starting palette pairs this combination with a stone worktop and backsplash, so the join between forest green and white oak stays quiet. A tile backsplash adds rhythm instead; compare its undertone against the white oak grain rather than against the screen colour, and check the change beside the tall units in the elevation.

03

Compare samples outside the screen

The editor shows illustrative colour and grain: white oak varies between boards, and forest green fronts can read warmer or cooler beside your floor and daylight. Bring physical samples together in the actual room before choosing a supplier finish, and use the exported material board to communicate the direction rather than as a colour guarantee.

Questions before you start

Can I use forest green on every cabinet?

Yes. Apply the finish to the whole kitchen, or select one cabinet and change only that front. The layout and dimensions stay the same.

Is the white oak shown a specific supplier product?

No. It is an illustrative finish. Record the chosen manufacturer and product details separately when you specify the real kitchen.
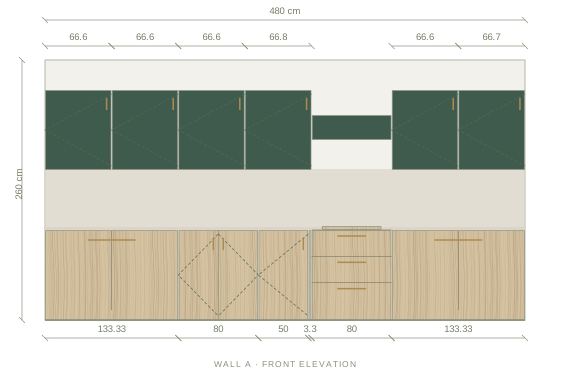
The front elevation

Review the main wall’s cabinet heights, appliance spaces and finish balance. Other walls are available in the editor.

Main wall elevation of the forest green & white oak kitchen example
Illustrative main-wall elevation. Digital materials are not supplier samples.

Example cabinet & appliance list

Planning dimensions in centimetres. These generic components are editable and do not identify purchasable supplier products.

Width × depth × height; cabinet heights exclude the visual worktop.
Ref.ComponentWidthDepthHeight
01L-shaped corner cabinet133.3 cm133.3 cm90 cm
02L-shaped corner cabinet133.3 cm133.3 cm90 cm
03Sink cabinet80 cm60 cm90 cm
04Base cabinet50 cm60 cm90 cm
05Filler strip3.3 cm60 cm90 cm
06Drawer cabinet80 cm60 cm90 cm
07Induction hob60 cm50 cm4 cm
08Extractor hood80 cm40 cm25 cm
09Wall cabinet66.6 cm36 cm80 cm
10Wall cabinet66.6 cm36 cm80 cm
11Wall cabinet66.6 cm36 cm80 cm
12Wall cabinet66.8 cm36 cm80 cm
13Wall cabinet66.6 cm36 cm80 cm
14Wall cabinet66.7 cm36 cm80 cm
15Dishwasher60 cm60 cm87 cm
16Base cabinet60 cm60 cm90 cm
17End panel1.8 cm60 cm90 cm
18Oven + microwave tower60 cm60 cm230 cm
19Integrated fridge60 cm60 cm230 cm

Before installation: verify measurements on site, resolve cabinet junctions and worktop details, and enter the chosen appliances’ installation and ventilation requirements.