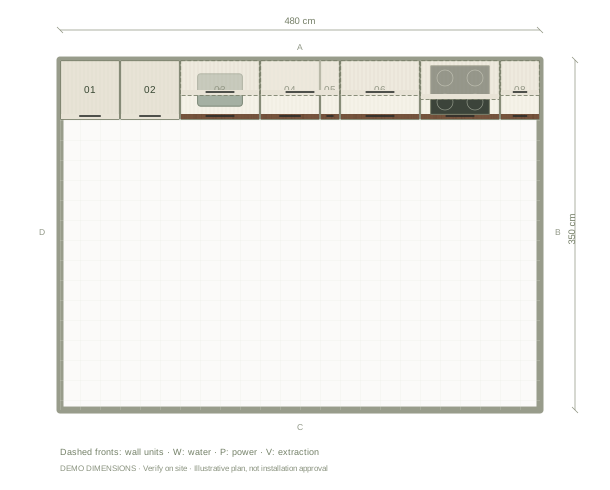
480 × 350 cm one-wall example
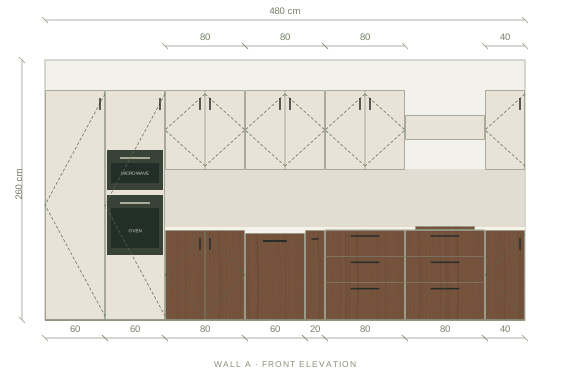
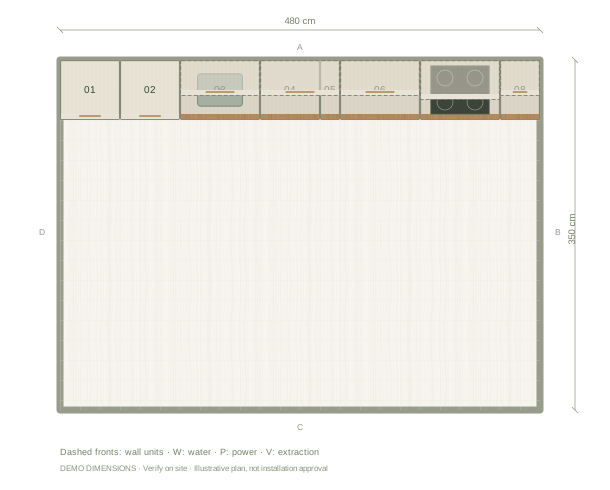
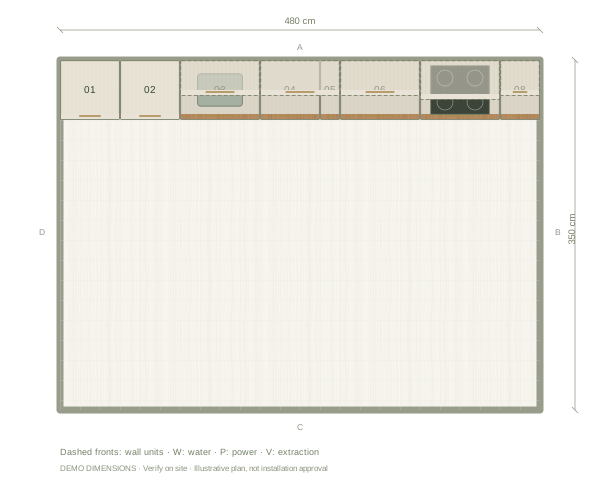
The example room measures 480 × 350 cm with a 260 cm ceiling. The eight floor and tall units total 480 cm in width: 60 cm fridge, 60 cm appliance tower, 80 cm sink cabinet, 60 cm dishwasher, 20 cm pull-out, two 80 cm drawer cabinets and a 40 cm base cabinet. This fills the modelled wall before any site-specific end clearance or extra fillers. Review the supplier's installation requirements and adjust the run to your measured wall.
Decide how much dark timber to show
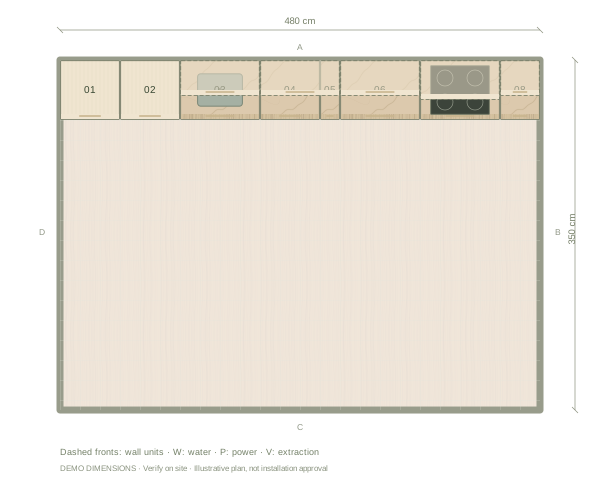
The example keeps walnut on the lower fronts. Extending it onto a tall storage wall makes a much stronger statement. Compare both versions from the entrance, especially if the room is narrow or the cabinetry fills most of the view.
Consider the floor with the fronts
A light stone floor is included to separate the dark cabinetry from the ground plane. A timber floor can work as another direction, but compare grain scale and tone rather than expecting two wood finishes to match automatically.
Make the small details consistent
Black handles and a light counter provide a clear contrast in this preset. Check the visible end panels, cabinet bodies and any open shelves too. A front-only change can leave those surfaces with the original palette, which may be intentional or may need adjustment.
Compare materials in this layout
Open the editable example and change one finish at a time. Keep the camera and light fixed to compare the options.
| Option | Visual difference | What to compare |
|---|---|---|
| Cream with walnut | The starting palette pairs cream uppers with darker walnut lower fronts. | Compare the walnut grain and cream undertone using physical samples. |
| Cream with oak | Changes the lower fronts to a lighter timber direction. | Keep the white counter and stone floor fixed for the first comparison. |
| Walnut with black or brass handles | Black is the starting handle finish; brass offers another visible accent. | Compare handles beside the tap and appliances rather than changing all finishes together. |
Digital finishes are illustrative. Compare physical supplier samples before ordering.
Try these finishes in your own copy ↗Questions before you start
Can I compare walnut and oak without losing my layout?
Yes. Duplicate the project, change the material palette in the copy and use the comparison tools to review both designs.
Does the grain show the final veneer layout?
No. Grain is illustrative. Veneer matching, direction and panel sequencing need to be agreed with your supplier.