Identify the mounting type
Look at how the sink meets the countertop. A top-mount sink has a rim above the surface; an undermount sink sits below it. An integrated or apron-front sink has a different arrangement. Photograph the rim, tap and cabinet interior. The mounting type and countertop material affect what a replacement requires, so check the proposed change with the installer.
Measure the sink and bowl
Measure the outside length and width at the widest points, including any rim or drainer, and record the bowl length, width and depth separately. Measure the tap position and note any additional holes or accessories. Do not confuse the visible bowl opening with the full outside sink size. If part of the sink is hidden, note that the dimension needs an installer’s check.
Measure the cabinet and nearby space
Measure the usable inside width and depth of the sink cabinet, then note drawers, hinges, pipes, waste fittings and other obstructions. Record the distance from the sink to the wall, backsplash and adjacent appliances. Compare the proposed sink and tap against the manufacturer’s cabinet and installation requirements. A wider sink may need a different cabinet or changes to surrounding components.
Confirm the cut-out with the installer
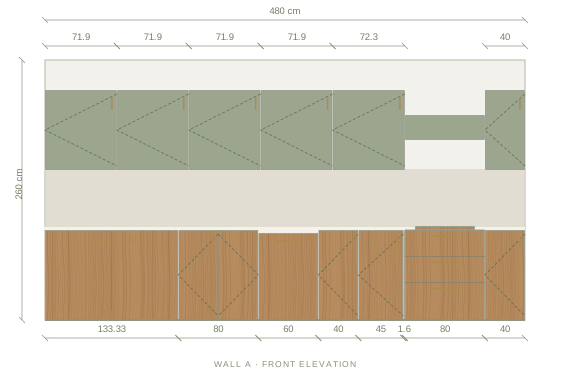
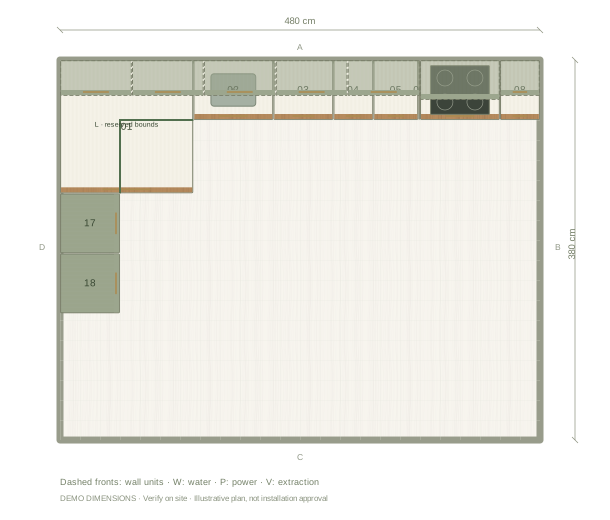
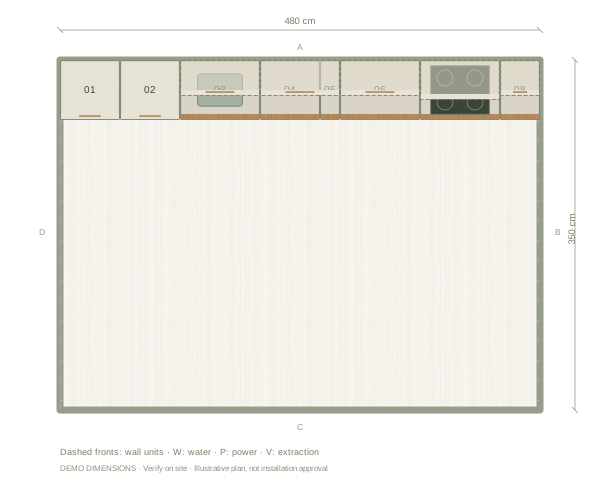
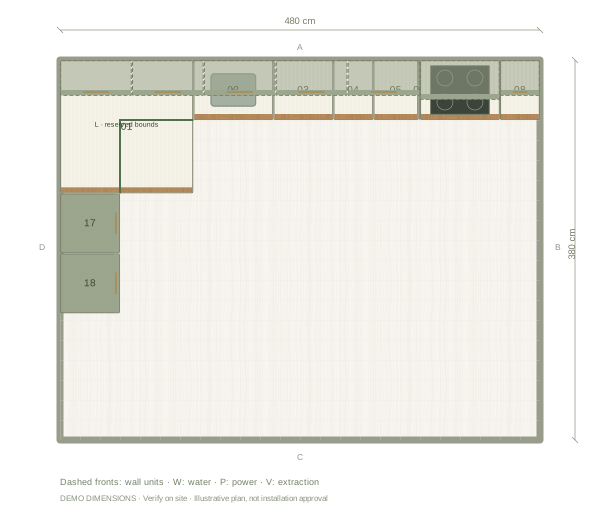
Use the measurements to shortlist products and plan the room. Do not cut the countertop from a generic online dimension or assume an existing cut-out fits a new sink. The chosen sink’s manufacturer and installer must confirm the opening, supports, tap clearances and plumbing. The example below illustrates a kitchen layout, not an installation template.
Questions before you start
Is the sink bowl size the same as the cut-out size?
No. The outside size, bowl opening and required countertop cut-out can differ. Use the chosen manufacturer’s instructions and have the installer verify the opening.
Should I measure inside the sink cabinet?
Yes. The available inside width and depth, obstructions and installation method affect whether a sink fits. Confirm those requirements for the chosen product.