What is the kitchen work triangle?
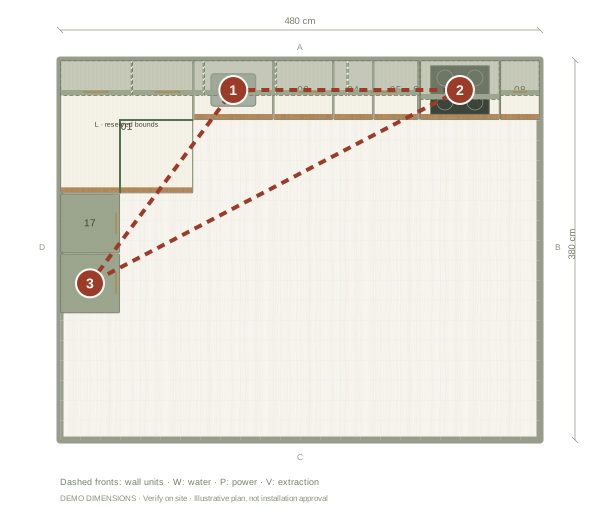
The work triangle is a planning idea connecting the sink, hob or range, and refrigerator. It helps you think about the route between washing, cooking and food storage. The numbered diagram below joins the centres of those components in this example. The straight lines are a visual explanation, not a measurement of your actual walking route or a guarantee that the layout is safe.
Check the example layout
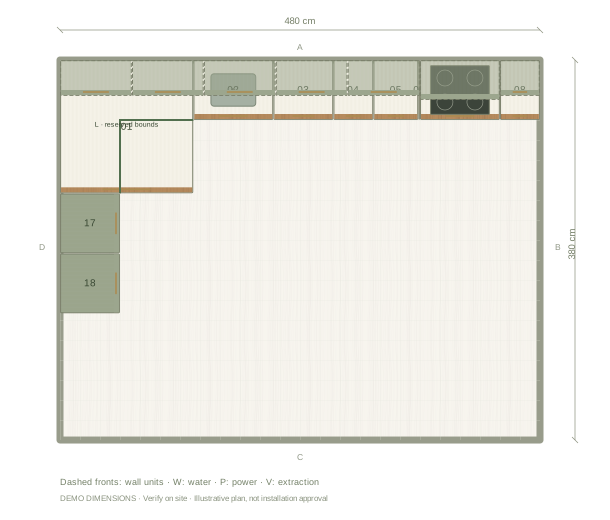
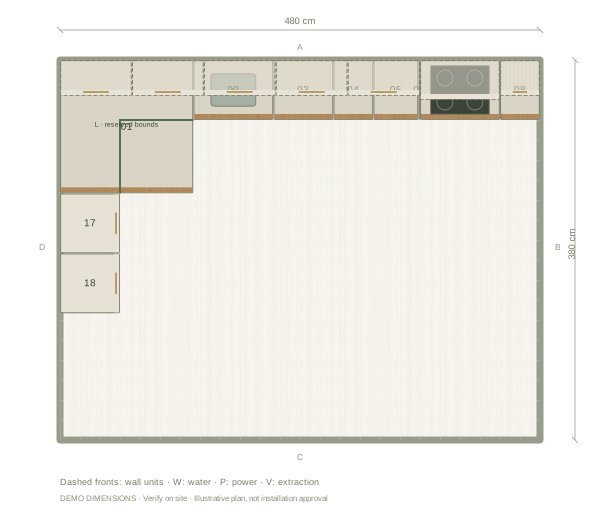
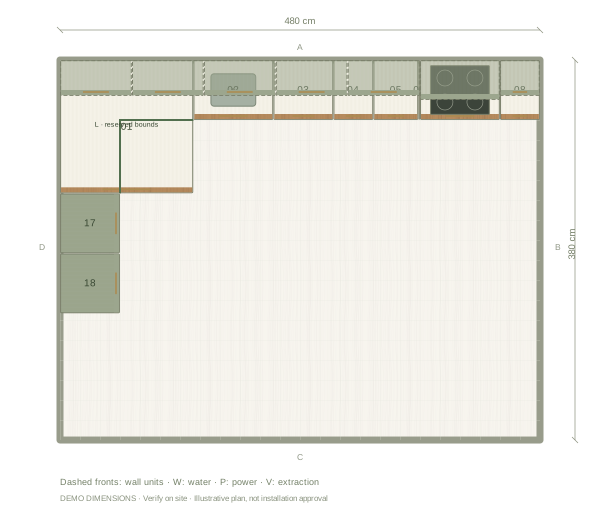
The example uses a 480 × 380 cm L-shaped room. The sink and hob sit on the main run; the fridge is on the return. Open the plan and locate the three numbered components. Doors, windows and services are not included, so add your own before deciding whether this arrangement suits your home. You can move the appliances and compare the result in plan and 3D.
Look beyond the triangle lines
Check where people enter and whether an open fridge, dishwasher or drawer interrupts a route. Leave useful preparation and landing space near the work areas. A second cook, an accessible route, an island or a pantry may change how the room is used. The work triangle is a starting point, not a rule that overrides the needs of the people using the kitchen.
Review real appliance requirements
Record your existing plumbing, extraction, electricity and openings before moving components. Ask suppliers for the sizes, ventilation, heat separation and installation requirements of the chosen appliances. A drawing can help you discuss alternatives; a designer or installer must check the actual site and product requirements before ordering or construction.
The work triangle in this example
Sources
Questions before you start
What are the three points of the kitchen work triangle?
The sink, cooking area and refrigerator. The idea describes the relationship between these work areas, not a prescribed arrangement for every room.
Does every kitchen need a perfect triangle?
No. A one-wall kitchen can place all three along one run, and households may work in several zones. Review the actual people, routes and appliances.
Does Kitchform verify work-triangle compliance?
No. The diagram illustrates the example. Check walking routes, accessibility and appliance requirements with your designer or installer.