A practical guide
Place the windows before tuning the light
A planned window establishes where daylight enters the model. Review its wall, width, height and sill position against the room. Kitchform uses planned windows for daylight and provides a photographic opening for windowless plans. Moving the window changes the lighting situation, so correct it before comparing exposure settings.
Choose a mood that answers a question
Daylight is a useful starting point for the room as a whole. Morning light and golden hour give a warmer presentation. Overcast removes direct sun, while evening lets the fittings carry more of the scene. Choose the mood that helps you discuss the design rather than treating one dramatic setting as the only view.
Balance the light groups
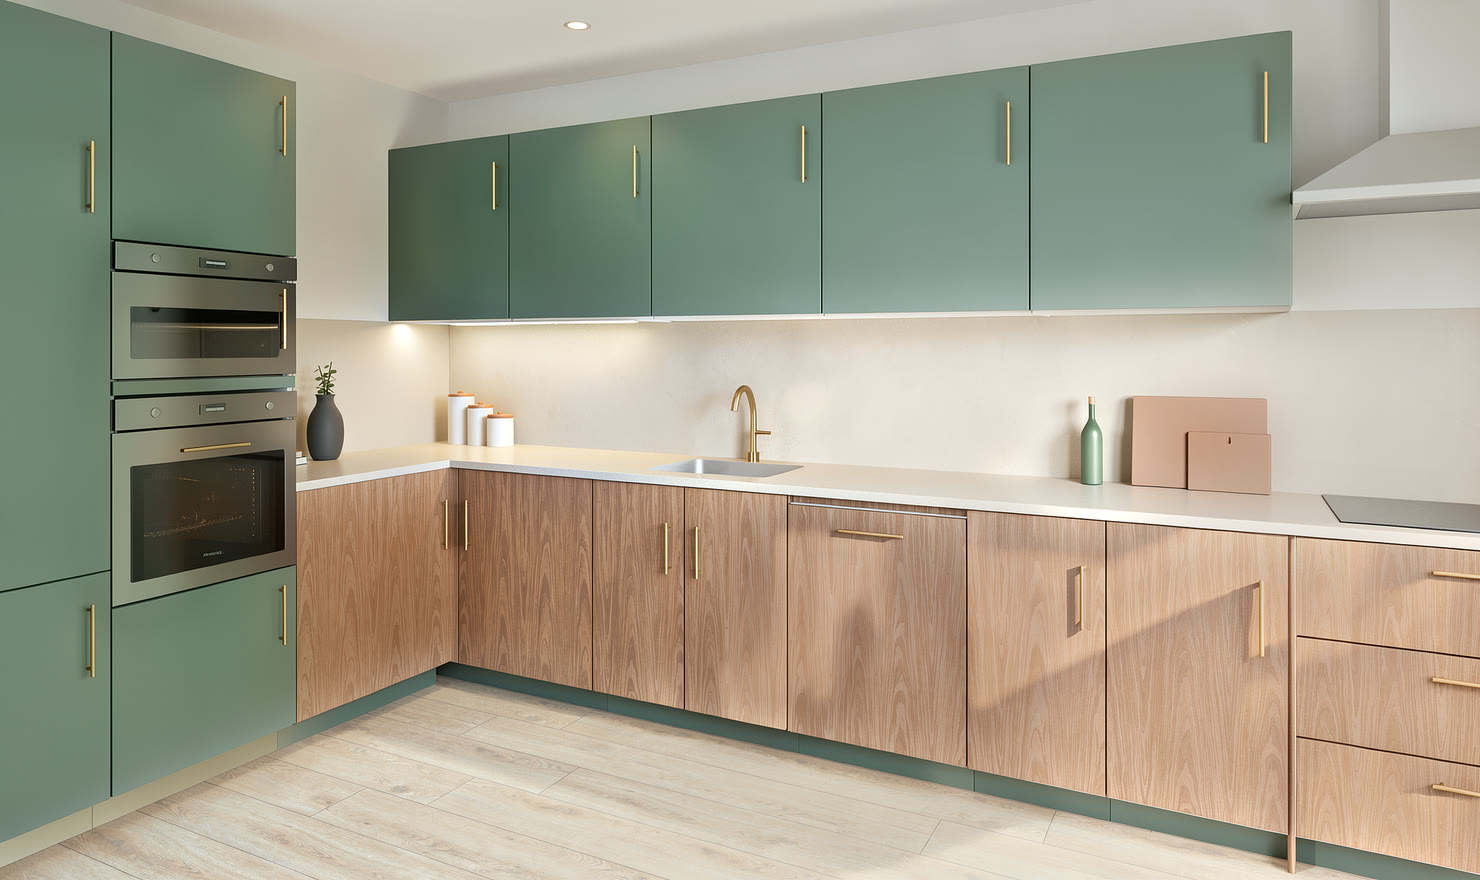
Render Studio has separate controls for direct sunlight, sky light, ceiling lights, pendants and under-cabinet lights. Under-cabinet lighting helps show the worktop and splashback. Pendants help describe an island. If every group is strong, surfaces can look uniformly bright and lose depth. Reduce one group, inspect the preview and compare from the same camera.
Set exposure after the light sources
Exposure changes the brightness of the finished picture. It does not move the lights or fix a window in the wrong place. Review pale worktops and cabinet fronts for lost detail, then inspect dark corners. Use white balance to adjust the overall colour presentation and lamp warmth to adjust the fittings themselves.
Make a controlled comparison
Keep the cabinet layout, finishes and camera fixed. Change the lighting mood or one light group, then compare the resulting photos. The browser preview uses simplified lighting, so the final GPU render remains the check for the finished image. Keep the downloaded options labelled with the mood or decision they explain.