A practical guide
Use Photo Build when photographs are your starting point
Upload up to three connected views of the same kitchen. Photo Build analyses the visible arrangement and suggests cabinets and finishes. The result is a starting model you can correct, rather than a verified record of hidden construction or exact room dimensions. Check the draft against your measurements.
Use Render Studio when you already have a kitchen model
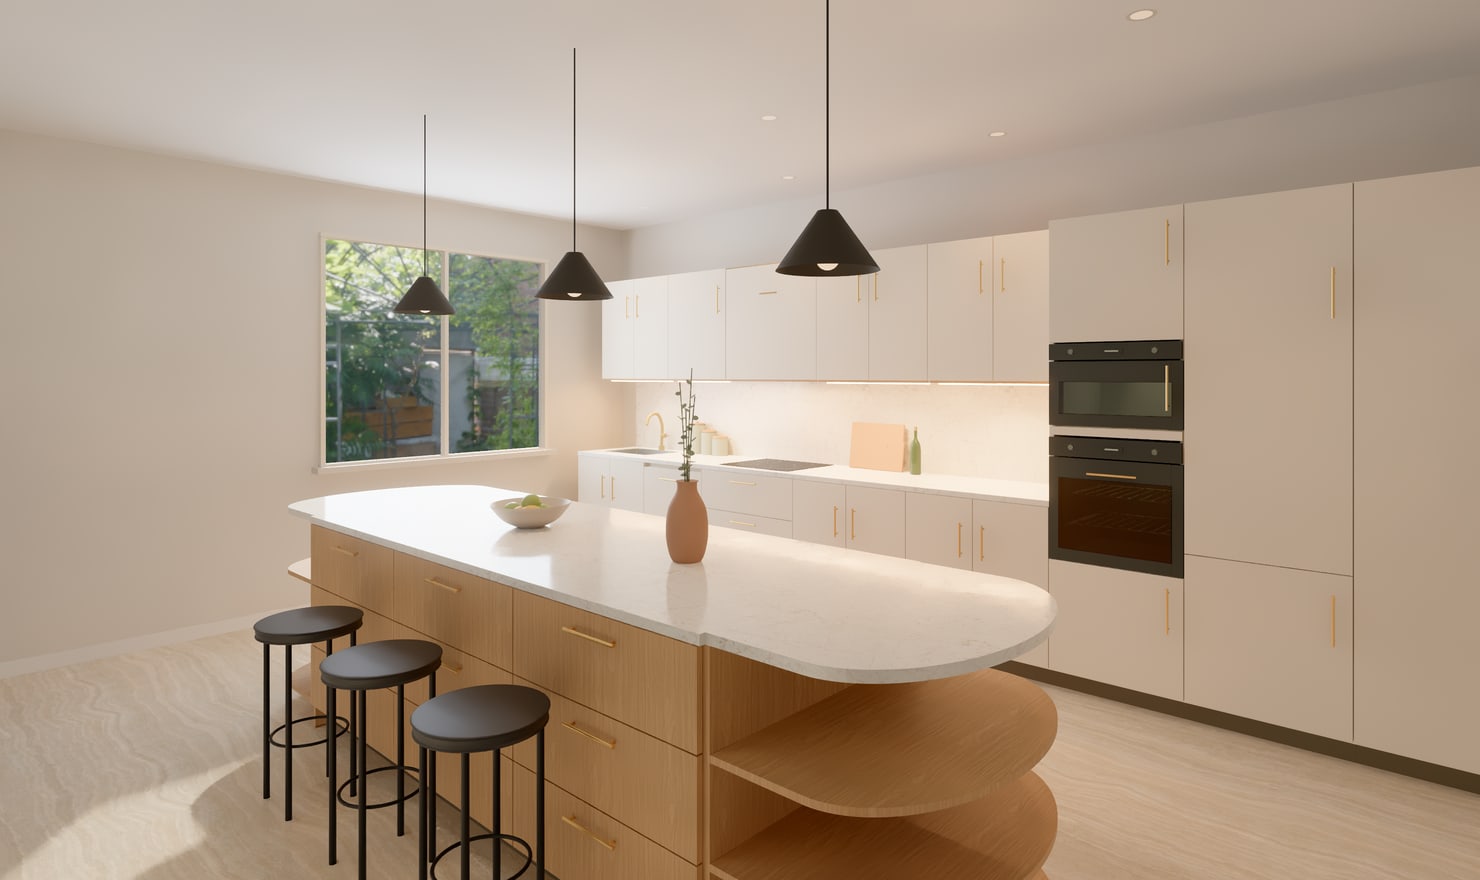
Open a saved or local kitchen from the editor, or try the sample kitchen. Choose a camera, lighting and output settings. A faithful render presents the saved model instead of inventing a different arrangement. If the picture shows a misplaced cabinet, change the cabinet in the editor and return to Studio.
Combine them in one workflow
Start with Photo Build if you need help reconstructing a visible arrangement. Correct the room envelope, openings and cabinets in the editable model. Then use Render Studio to compare finishes or lighting and create a presentation photo. Neither step replaces checking site measurements and appliance requirements.
Keep their allowances separate
The account shows Photo Build analysis access separately from rendering access. Each account has one free first High render. An eligible Photo Build promotional draft may also include its own render allowance. A kitchen made Premium with a credit includes up to 20 High photos. Studio shows which allowance is available before you start; failed or cancelled jobs preserve the account trial.
Choose the output you need
For a starting layout, review the editable Photo Build draft in plan and elevation views. For a visual discussion, use a Render Studio photo. For dimensions and cabinet schedules, use the design and its eligible exports. A convincing presentation picture alone does not contain the information needed to order or manufacture the kitchen.